
Home Lighting Installation: Essential Tools, Steps, and Tips
Whether you’re replacing an old fixture or installing a new one, proper preparation with the right tools can significantly improve efficiency and ensure safety and aesthetics. This guide details the tools you’ll need, practical installation techniques, and key considerations for a successful lighting upgrade.
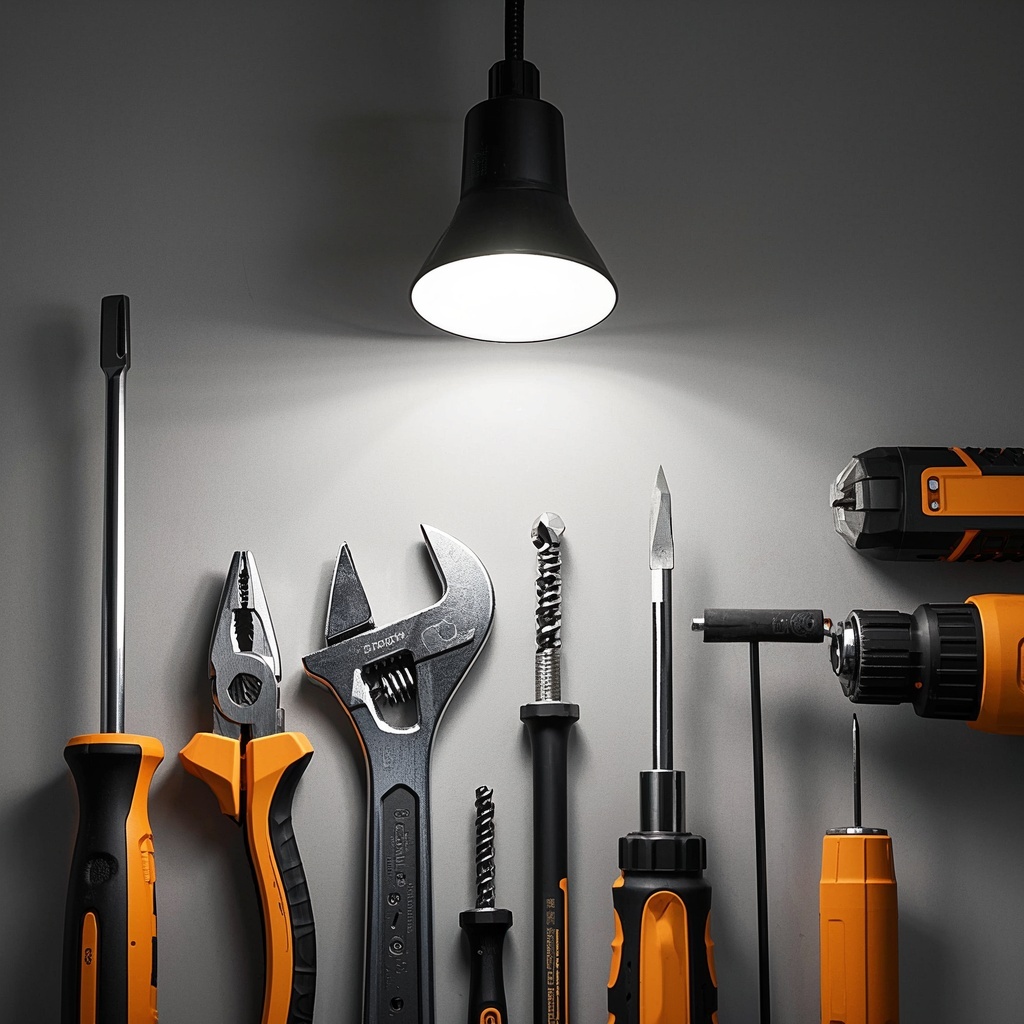
Essential Tools for Lighting Installation
- Screwdrivers
A crosshead (Phillips) and flathead (slotted) screwdriver are essential for tightening or loosening screws on most fixtures. - Pliers
Needle-nose pliers and standard pliers help grip, bend, or cut wires and secure components. - Electrical Tape
Critical for insulating wire connections to prevent short circuits or electric shocks. - Voltage Tester/Circuit Tester
Verify that wires are de-energized before working to ensure safety. - Wrench
Adjustable or fixed wrenches secure nuts and bolts for stable fixture mounting. - Laser Level
Achieve precise alignment for symmetrical or level installations. - Flashlight
Illuminate dim areas like ceilings or corners during installation. - Impact Drill
For drilling into concrete, brick, or hard surfaces to create anchor points. - Measuring Tape
Measure installation height and spacing accurately for optimal placement.
Pre-Installation Preparation
- Choose the Right Fixture
Consider room size, function, and décor style (e.g., pendant lights for dining areas, recessed lights for kitchens). - Turn Off Power
Use a voltage tester to confirm wires are not live. Never skip this step! - Read the Manual
Follow manufacturer instructions for wiring, weight limits, and mounting specifics. - Clear the Workspace
Remove obstacles and ensure stable footing (use a ladder if needed). - Mark Installation Points
Use a pencil and laser level to mark drilling spots for brackets or anchors.
Step-by-Step Installation Guide
1. Installing a Pendant Light
- Secure a ceiling junction box to support the fixture’s weight.
- Connect wires (black to black, white to white, ground to ground) using wire nuts and electrical tape.
- Attach the canopy cover and adjust the chain/cord length for desired height.
2. Mounting a Wall Sconce
- Install a mounting bracket aligned with marked points.
- Connect wires, secure the fixture, and ensure it sits flush against the wall.
3. Fixing a Ceiling Light
- Attach mounting hardware to the ceiling junction box.
- Wire the fixture, tuck wires neatly, and snap the baseplate into place.
Post-Installation Checks
- Inspect Connections
Ensure wires are tightly connected and insulated. - Test the Fixture
Restore power and verify the light operates correctly. - Clean the Fixture
Wipe away dust or fingerprints for optimal brightness.
FAQ: Common Questions Answered
- How long does installation take?
Simple fixtures (e.g., ceiling lights) take ~30 minutes; complex designs (e.g., chandeliers) may require 1+ hours. - Can I DIY?
Yes, if you’re comfortable with basic electrical work. Otherwise, hire a licensed electrician. - Safety Tips?
- Always turn off power at the circuit breaker.
- Wear insulated gloves and avoid wet conditions.
- Choosing Brightness?
Aim for 100–300 lumens per square meter (e.g., 150W LED for a 15m² living room). - LED Considerations?
Ensure proper heat dissipation and avoid enclosed spaces unless rated for it. - Fixing a Wobbly Fixture?
Tighten screws and use thread-locking adhesive for stability. - Smart Lighting Options?
Brands like Philips Hue or Xiaomi Yeelight offer app-controlled, energy-efficient LEDs. - Replacing Bulbs?
Turn off power, let the fixture cool, and gently twist bulbs to avoid breakage.
Pro Tips
- Use a stud finder to locate ceiling joists for heavy fixtures.
- Match wire colors carefully and label them if unclear.
- For vintage homes, update outdated wiring to handle modern fixtures.
By gathering the right tools, planning meticulously, and following safety protocols, you can confidently upgrade your home’s lighting. Whether it’s a sleek LED panel or a statement chandelier, your efforts will illuminate your space beautifully!
This guide equips homeowners with the knowledge to tackle lighting projects safely and efficiently. Always prioritize safety and consult professionals when in doubt. Happy installing! 💡